
Thin Stone Installation Made Simple & Efficient
Full Bed Stone Veneer Installation Guide
Full bed natural stone veneer offers the enduring strength, character, and timeless appeal of traditional stone masonry. Unlike adhered thin stone veneer, full bed stone is installed as a thicker masonry facing that requires proper structural support and anchorage.
Installation begins with a suitable foundation or supporting ledge designed to carry the weight of the stone. Individual stones are laid in mortar and secured to the structural backing using appropriate masonry ties or anchors, with a properly designed drainage cavity separating the veneer from the supporting wall where required.
Each stone is carefully selected, positioned, and fitted to create a balanced, natural appearance. Proper mortar joints, flashing, drainage, and structural connections are essential to maintaining the durability and long-term performance of the finished installation.
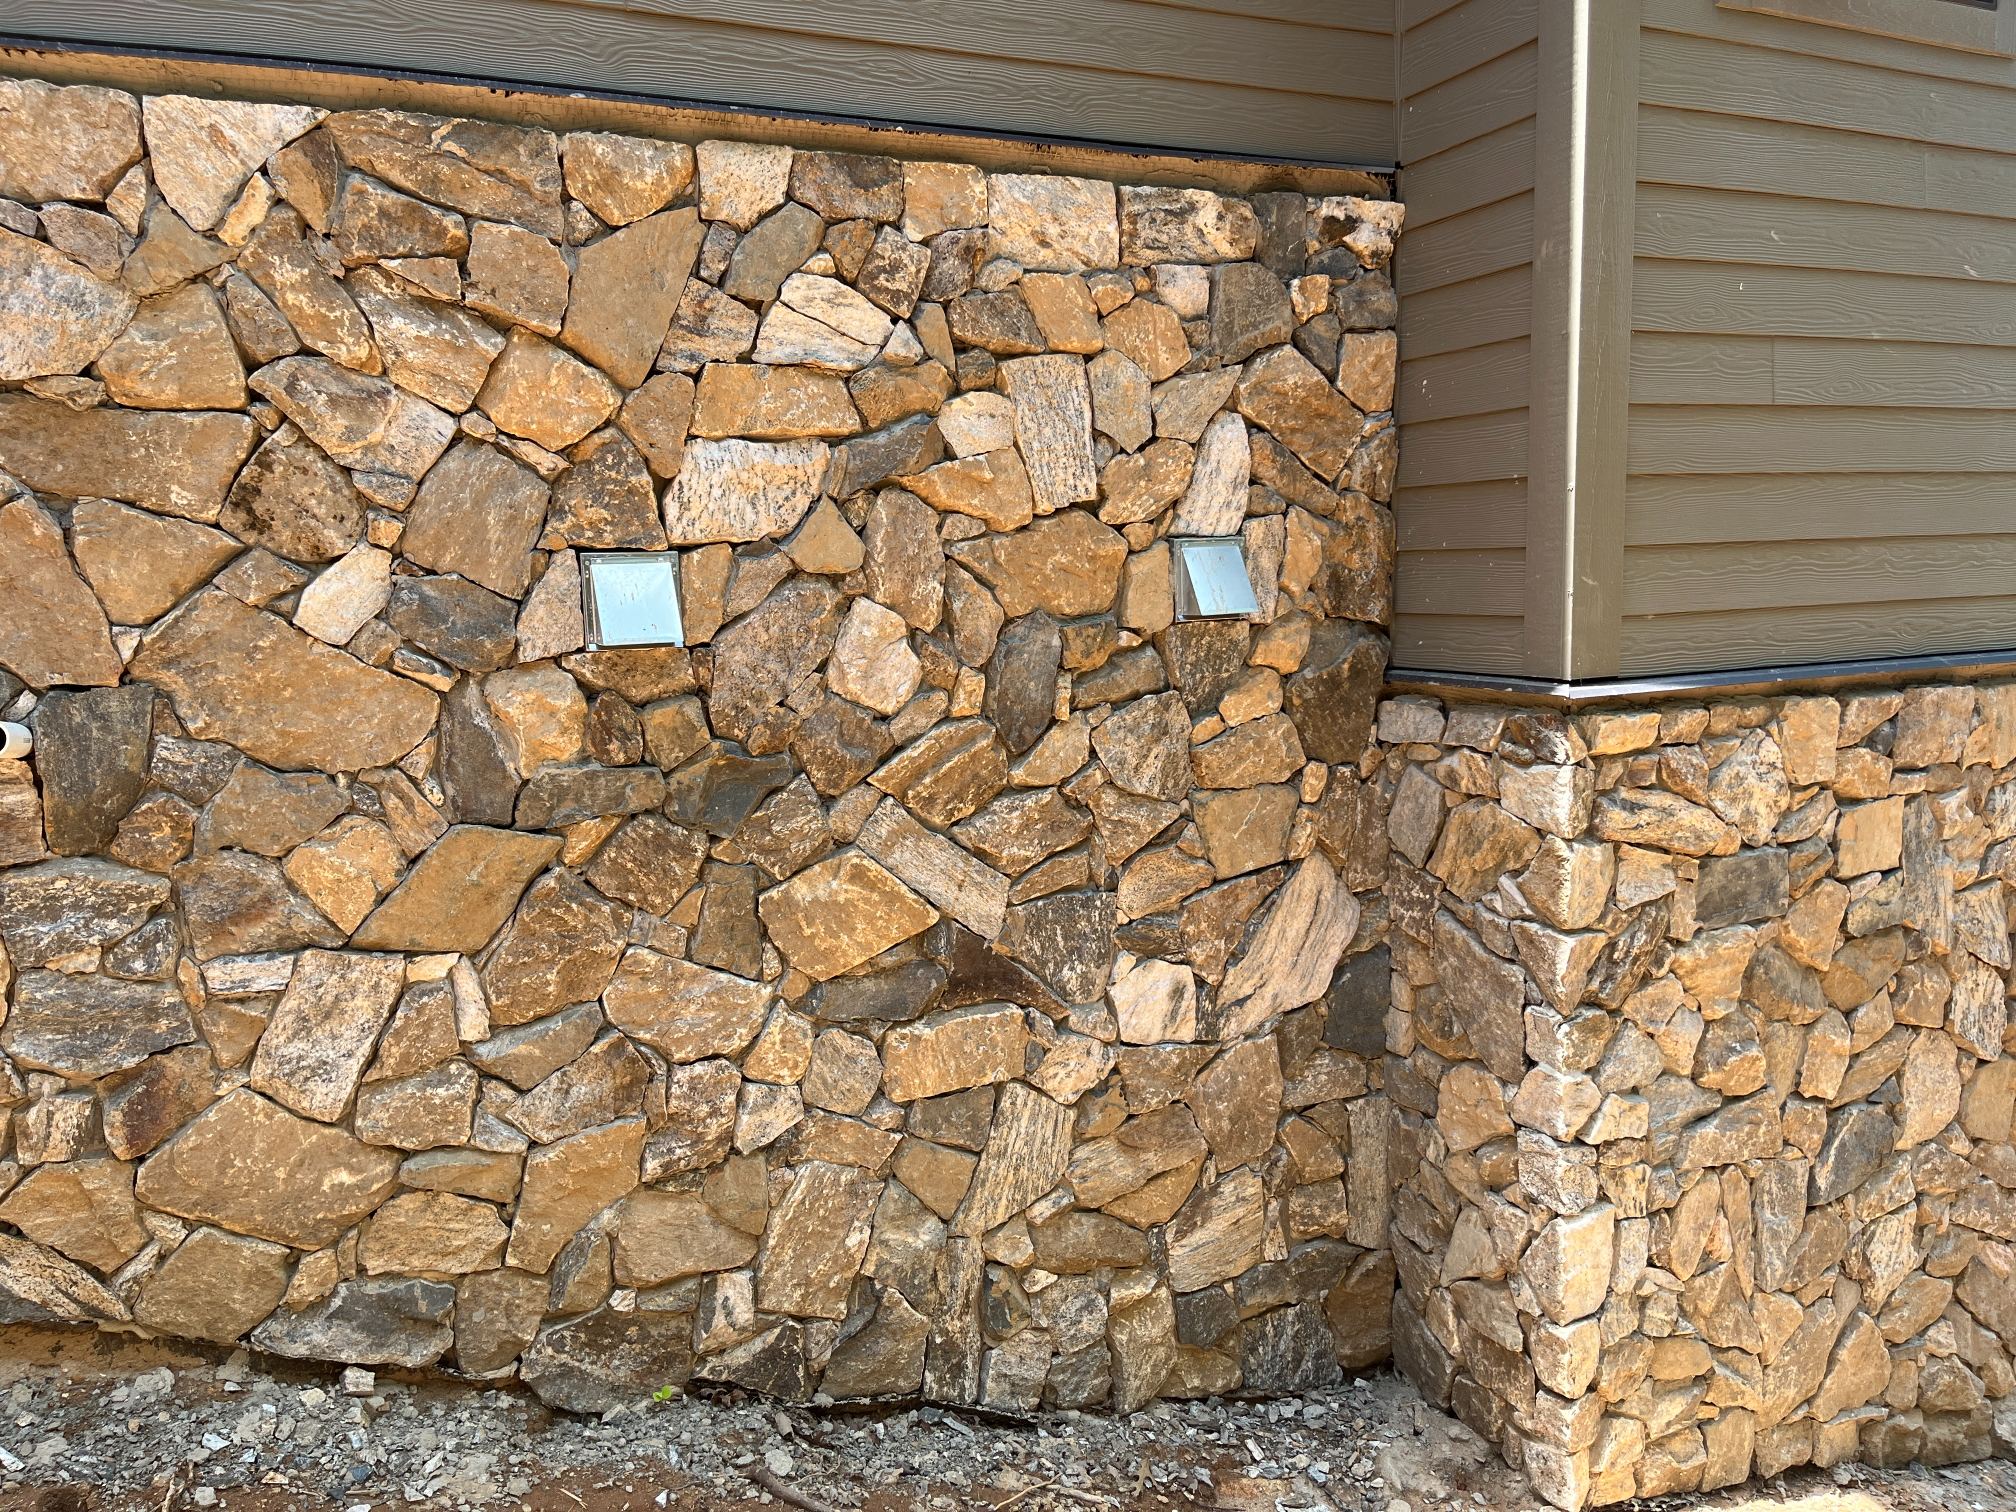
Construction Preparation

Proper planning and structural preparation are essential to a successful full bed natural stone veneer installation.
Before construction begins, verify that the foundation, footing, or supporting ledge is designed to accommodate the weight and thickness of the stone. The structural backing must be sound and capable of supporting the required masonry anchorage, with appropriate provisions for wall movement and long-term stability.
Install the specified weather-resistive barriers, flashing, drainage components, and masonry ties in accordance with applicable building codes and project requirements. Organize and blend stone from multiple pallets before installation to achieve a balanced distribution of natural color, size, and texture throughout the finished wall.